Creating LoD models
Case study 2: Wall sign, Introduction and Lesson 1
Originally posted at the official Second Life Forum. Unfortunately the pictures got lost when Linden Labmoved the forum to another host and without them, the tutorial is rather useless. So I'm reposting it here with a few minor updates.
Introduction
This is the sign outside my Queen of Spades pub in Keswick:

It seems quite simple at first glance but it has details like miter joints for the base plate:

and most significantly a rather elaborate attachment using six toruses and six twisted tubes:

The Queen of Spades is currently used as part of the Silent Slasher game but mostly it's just a decoration in the landscape and I never bothered to do much about it. Especially not the sign because I'm really happy with how it looks and don't see any need to change it. But it was all prims and that meant 10 LI, a bit too much for a simple sign really. Eventually I decided to do some serious work on a mesh version.
Almost straight out of Mesh Studio with just a little bit of cleaning in a Blender, it's 3694 vertices and 7358 triangles. Sounds a little bit heavy to me:
Lesson 1: UV mapping
I may be wrong but I understand that the common way to UV map an SL mesh today is to use few faces and "islands" for each part on the UV map. In this case you'd probably use three faces, one for the signboard itself, one for the wooden base plate and one for all the metal parts.
If you're lazy, you'd just use the basic automatic UV mapper in Blender and end up with this:

Now, this is of course a very poor UV map, you waste more than half the pixels in the texture, the toruses are visibly distorted and so on. Contrary to what many builders seem to believe, Blender does a very poor UV mapping job so be prepared to spend a lot of time cleaning this up before you get any kind of decent result. But how many people realize that a UV map like this also affects the land impact?
If I try to upload this, using the default automatic LoD settings I get:

16.409 LI.
Here's a different way. If I split the metal parts into five separate faces:

I can get a much cleaner UV mapping:

Much cleaner and much less work, most of the parts I didn't UV map at all, I just scaled the mapping from the prim original. The map still looks a bit wasteful of texture pixels but it isn't. The vertical and the different horizontal segments are different faces and will end up using all the pixels of the texture.
The LI?
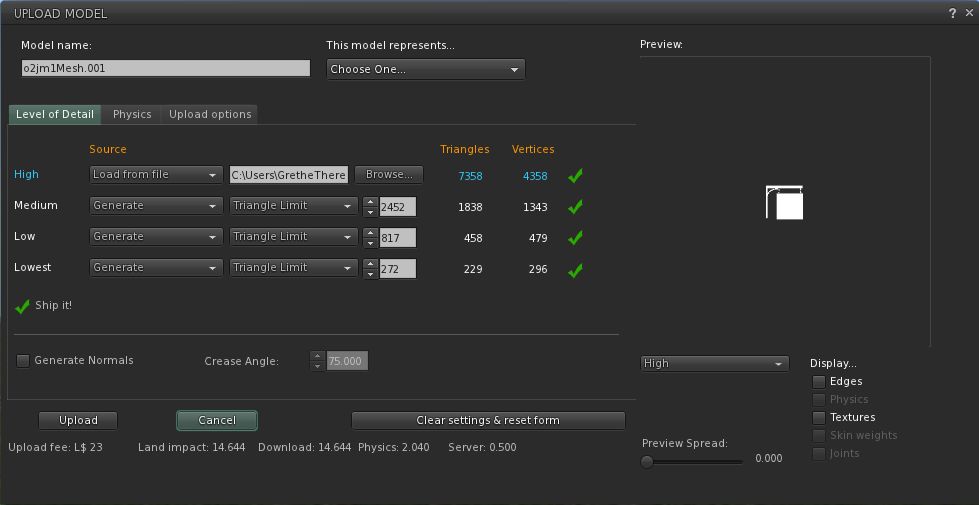
14.644. Still too high but 10 percent reduction by saving a lot of time and effort on the UV map? Yes, please!
I've heard so many times that simple texture maps and repeating textures are outdated and the only right thing to do is to use "proper" UV maps and baked textures. It's the Emperor's new Texturing. I don't know of any skilled mesh maker in SL or anywhere else who thinks that way. Quite the contrary: use simple UV maps and repeating textures wherever possible, complex UV maps and baked textures only where they really make a difference.
No comments:
Post a Comment